Da 45 anni soluzioni di memoria e di archiviazione innovative direttamente da Micron.

Smontare e Assemblare un PC fisso

Che tu stia disassemblando il tuo computer per raccogliere le parti, per installare nuovi componenti, per pulirlo o per vedere come funziona, la nostra guida ti mostra come disassemblarlo tutto e come rimetterlo a posto.

Smontaggio computer

La nostra guida copre i modi più comuni per assemblare un computer, ma i computer e i produttori possono variare. Se non hai accesso a un componente specifico elencato nella guida, salta le istruzioni per la rimozione delle altre parti finché non raggiungi il componente originale.

Generalmente, il processo consiste nello scollegare tutti i fili e cavi che collegano un componente ad altri, quindi rimuovere la parte dal case o telaio. I componenti possono essere collegati al case con clip speciali, viti o tramite inserimento in un supporto. In qualsiasi caso, serve poca forza per rimuovere la parte. Se non si muove, verifica se ci siano altri accessori che tengono il componente nella sua posizione.

Ti servirà un cacciavite a testa Phillips e, a seconda del produttore dei tuoi componenti, un cacciavite a testa piatta. Il metallo all’interno del computer può essere affilato, quindi è bene anche indossare guanti.

Se stai ricostruendo il computer, assicurati di annotare da quali zone hai rimosso i componenti, l’ordine di rimozione e quali cavi fossero attaccati a ciascuna parte. Puoi scattare foto prima di ogni rimozione o annotare. Tieni anche sotto controllo le viti. Tieni le viti con il loro componente rilevante riavvitandole nei fori o sul componente o sulla struttura, oppure fissandoli alla posizione giusta.

Passaggio 1

Spegni il computer, scollega il cavo di alimentazione e qualsiasi periferica attaccata a esso come tastiera, mouse, monitor, cuffie o unità esterne.

Indossa una cinghia per la messa a terra o tocca una parte metallica non verniciata del computer per scaricare l’elettricità statica. Se, in un qualsiasi momento, cammini su un tappeto, tocca nuovamente una parte metallica del computer per scaricare l’elettricità statica che si è formata.

Persona che tocca una parte metallica non verniciata in un computer con il dito per scaricare elettricità statica.


Passaggio 2

Rimuovi almeno una delle coperture laterali, solitamente dal lato destro quando sei di fronte al computer. Potresti notare più facilità all’accesso delle parti rimuovendo entrambe le coperture laterali; a volte ci sono viti ad aletta sulle coperture per rendere l’accesso più facile.
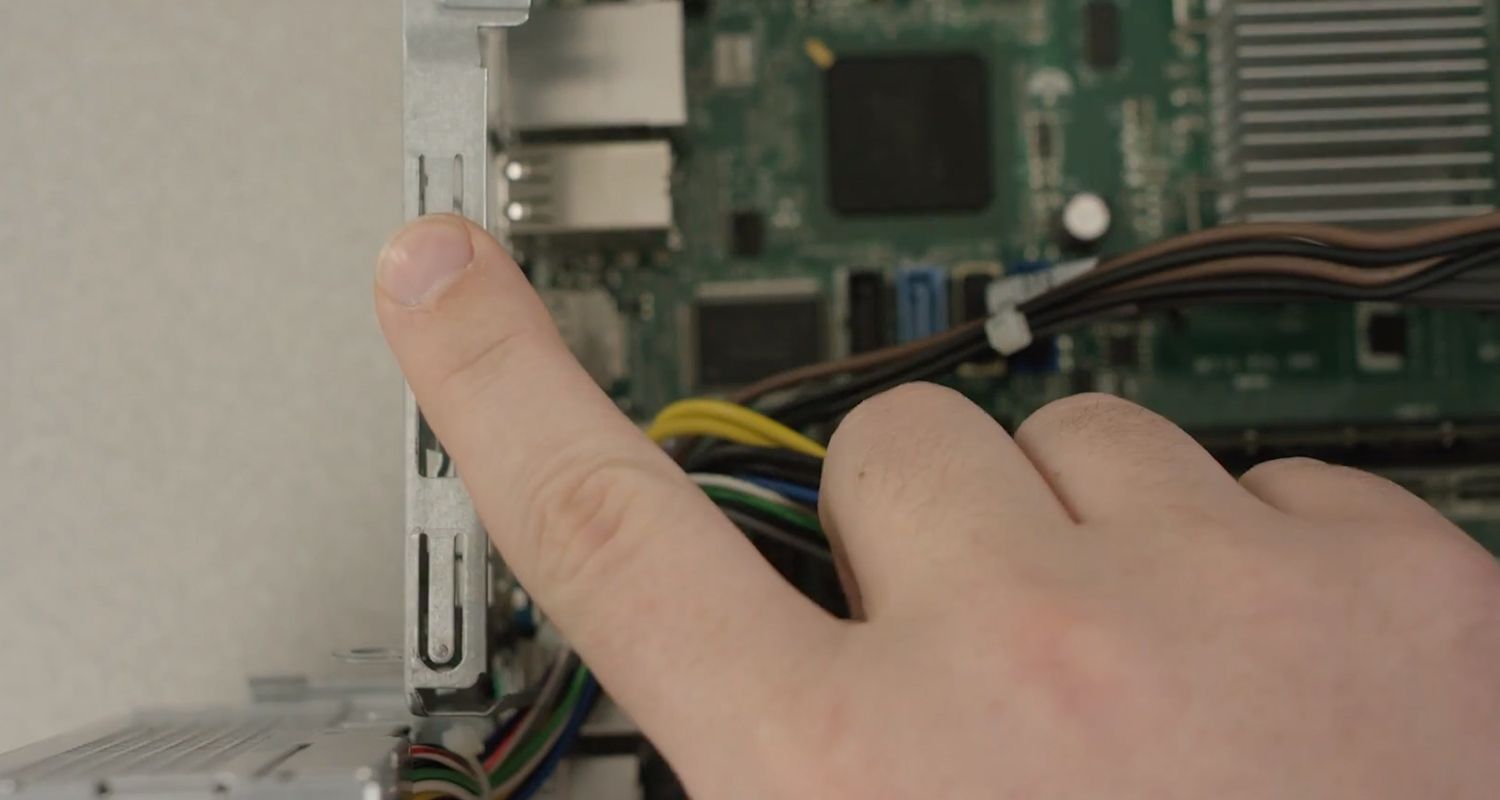
Il case del computer fisso è stato rimosso per esporre i componenti hardware interni


Passaggio 3

Scollega tutti i connettori, quindi rimuovi qualunque lettore di schede e lettori DVD interni. Essi sono solitamente avvitati.
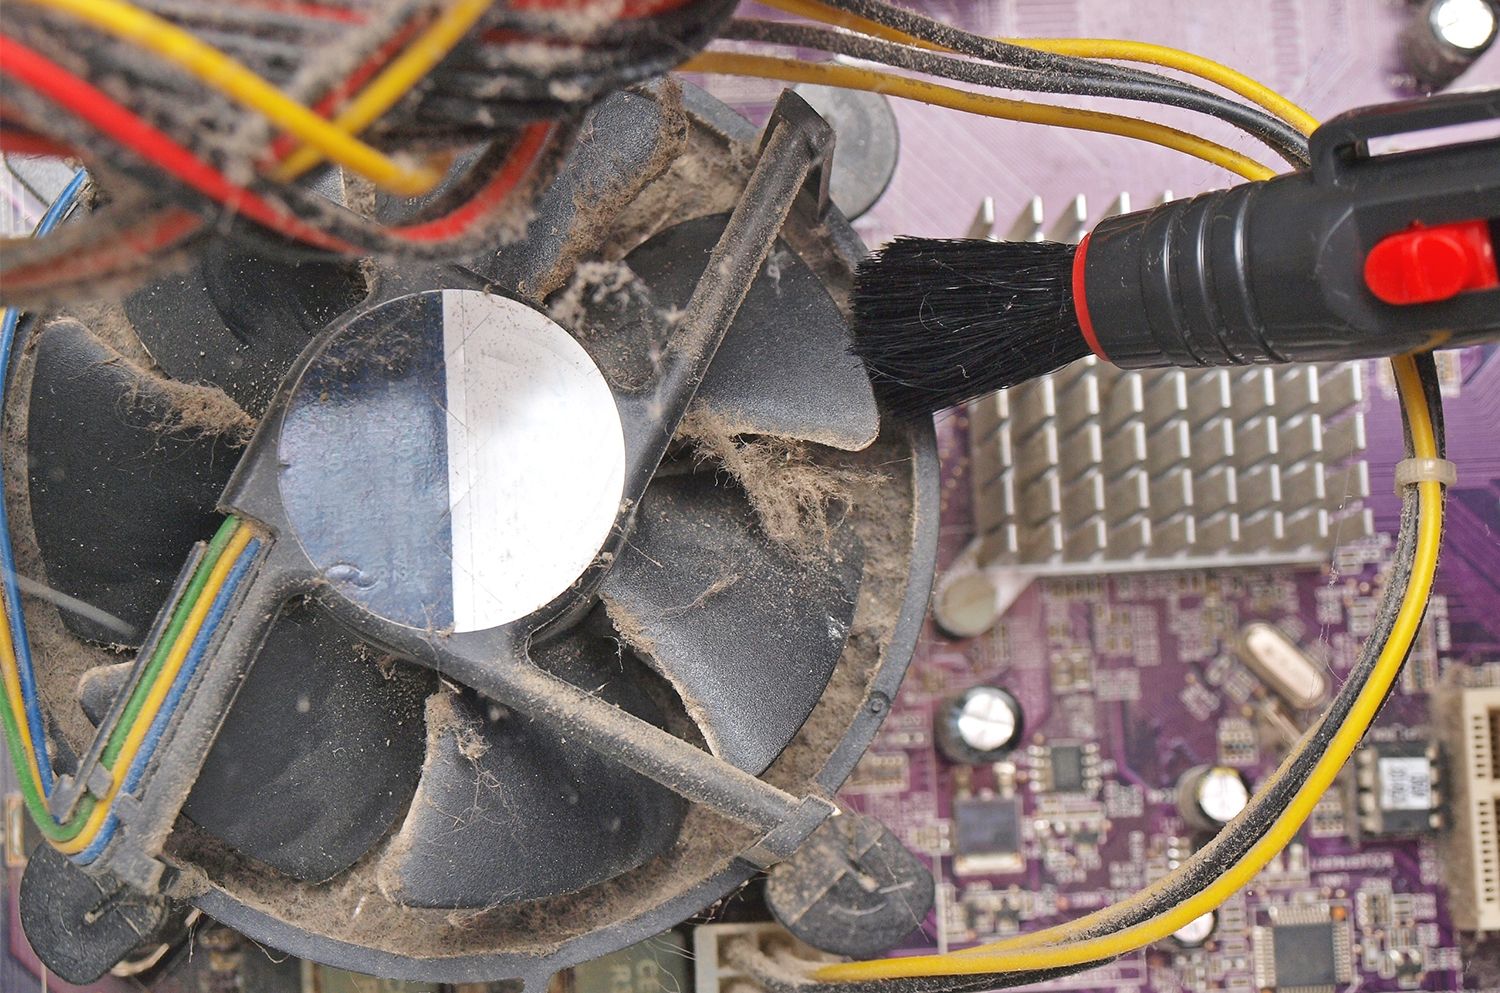
 

Passaggio 4

Rimuovi qualunque ventola autonoma. Questo è un ottimo momento per rimuovere polvere, pelucchi e peli di animali dalle ventole, se intendi riutilizzarle.
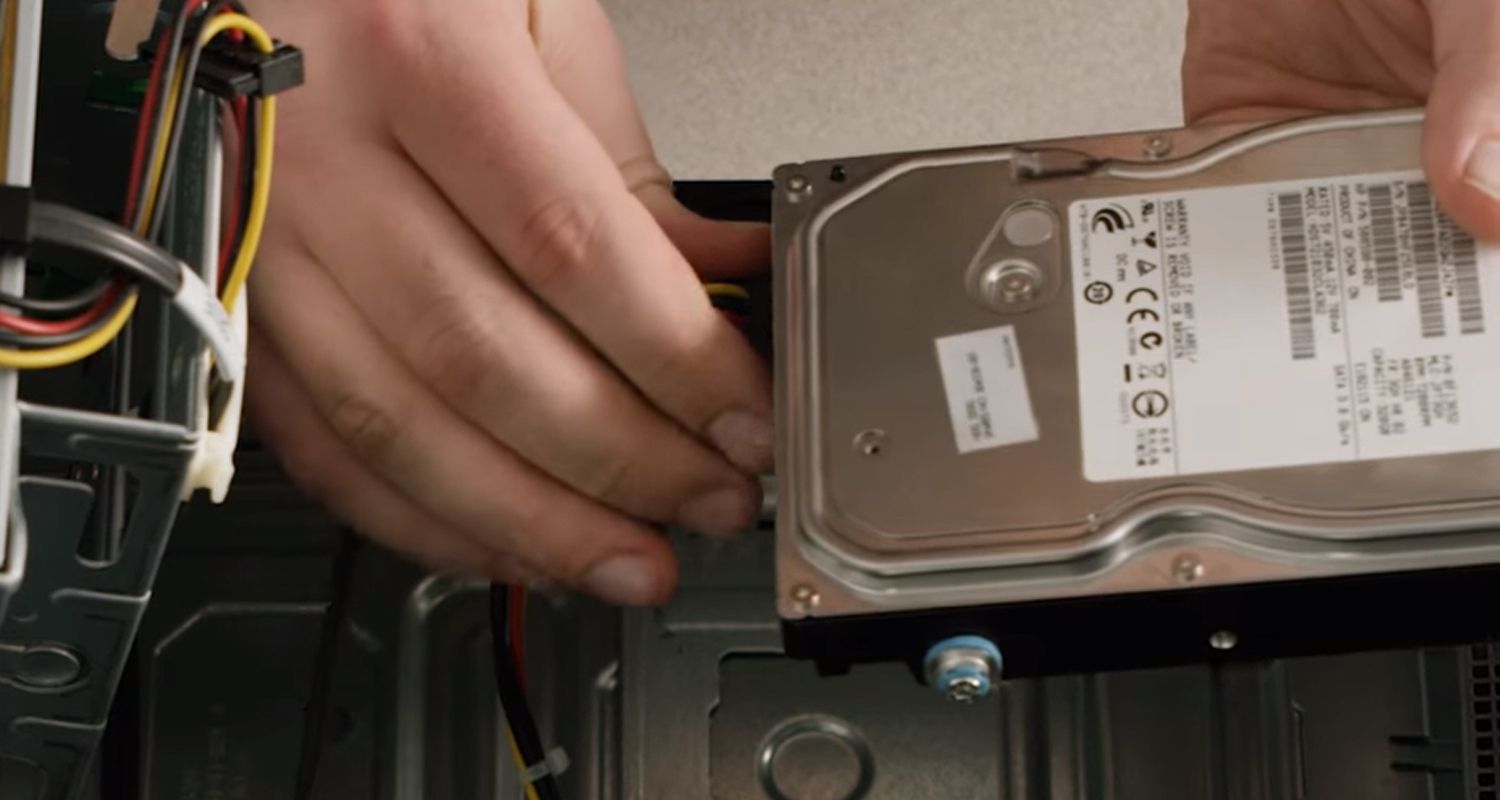
Una spazzola piccola rimuove polvere e pelucchi da una ventola esposta di un computer fisso


Passaggio 5

Scollega i cavi e rimuovi l’unità di archiviazione. Di solito, le unità di archiviazione sono mantenute da più viti. Se hai un disco rigido, sposta l’unità con delicatezza, dato che colpi bruschi possono danneggiare le parti interne.
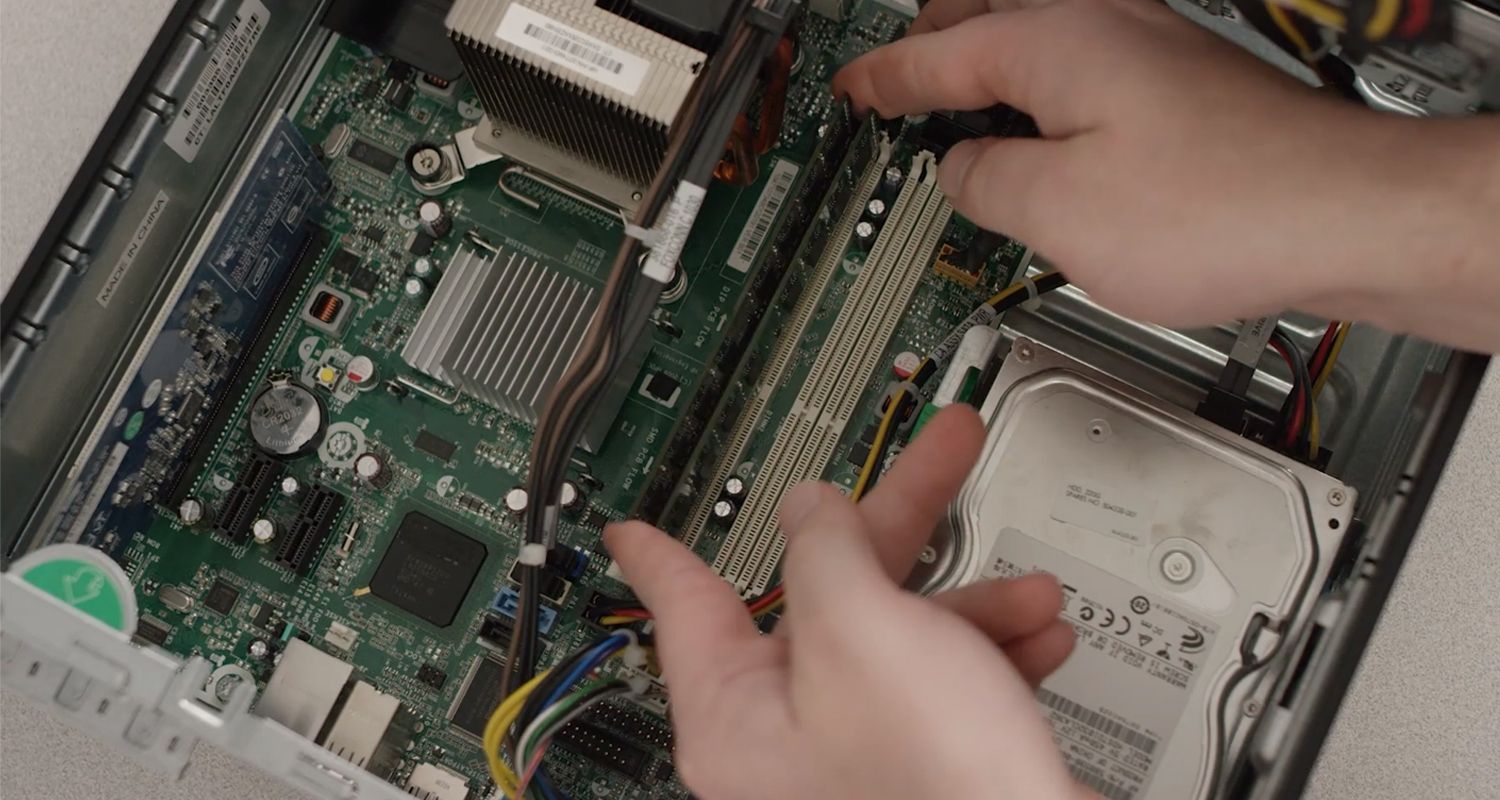
Una persona che scollega i cavi dall’unità di archiviazione di un computer fisso


Passaggio 6

Rimuovi i moduli di memoria (RAM) spingendo i clip su entrambi i lati e il modulo verso il basso. Ciò farà spuntare fuori il modulo per una facile rimozione. Non toccare i connettori in oro sui chip se intendi riutilizzare i moduli. Se non riutilizzi la RAM, scopri come possa essere usata in altre applicazioni.

Una persona che rimuove moduli di memoria RAM da un computer fisso


Passaggio 7

Rimuovi l’unità di alimentazione scollegando i connettori rimanenti, quindi svitando l’unità dalla struttura.

Passaggio 8

Rimuovi qualunque adattatore o schede di espansione dalla scheda madre. Anche se queste schede scivolano solitamente in slot preconfigurati, potrebbero esserci viti. Non toccare i connettori in oro sulle schede se le devi reinstallare.

Passaggio 9

Scollega tutti i cavi dalla scheda madre, quindi svitala dalla struttura allentando un poco tutte le viti prima di rifare il giro e svitarle in maniera appropriata. Ciò previene qualsiasi deformazione potenziale della scheda madre, rilasciando gradualmente la tensione su di essa.

Tutti i componenti dovrebbero ora essere fuori dal case del computer. Se riutilizzi il case, questo è un ottimo momento per rimuovere tutta la polvere e i pelucchi che potrebbero essersi accumulati.

Riassemblaggio del computer

Se stai ricostruendo il computer, inserisci i componenti nell’ordine opposto rispetto alla loro rimozione, iniziando dalla scheda madre. Collega tutti i cavi quando inserisci i componenti; la maggior parte degli elementi si collegherà alla scheda madre e all’unità di alimentazione.

Congratulazioni, hai disassemblato e possibilmente riassemblato il tuo computer!


©2017 Micron Technology, Inc. Tutti i diritti riservati. Informazioni, prodotti e/o specifiche sono soggetti a modifiche senza preavviso. Né Crucial né Micron Technology, Inc. sono responsabili di eventuali omissioni o errori fotografici o di tipografia. Micron, il logo Micron, Crucial e il logo Crucial sono marchi commerciali o marchi registrati di Micron Technology, Inc. Tutti gli altri marchi commerciali e i marchi di prodotti sono di proprietà dei rispettivi detentori.

Come disassemblare e riassemblare un computer fisso

Installazione della RAM nel computer

How to disassemble & rebuild a desktop PC

Whether you’re taking apart your computer to scrap it, install new components, clean it, or just to see how it works, our guide shows you how to take it all apart, then put it back together.

Computer disassembly

Our guide covers the most common ways computers are put together, but computers and manufacturers can vary. If you can’t access a particular component when it’s listed in the guide, skip to the instructions to remove the other parts until you can reach the original component.

Generally, the process is to unplug all the cords and cables connecting a component to other components, then remove the part from the case or frame. Components can be attached to the case with special clips, screws, or by insertion into a holder. In each case, no more than a small amount of force is needed to remove the part. If it’s not moving, check for more attachments that are holding the component in place.

You will need a small Phillips-head screwdriver and depending on the manufacturer of your components, possibly a flathead screwdriver. The metal inside the computer case can be sharp, so you might want gloves, as well.

If you are rebuilding the computer, be sure to document what area you removed components from, the order you removed them, and what cables attach to each part. You can take pictures before each removal or write it down. Keep careful track of the screws, as well. Keep the screws with their relevant component by screwing them back in the holes either on the component or on the frame or by taping them to the correct location.

Step 1 – Unplug your computer and peripheral items

Turn off the computer, unplug the power cord and unplug any peripheral items attached to the computer, such as the keyboard, mouse, monitor, headphones, and any external drives.

Wear a grounding strap or touch an unpainted metal part of the computer to discharge any static electricity. If you walk across a carpet at any point, touch an unpainted metal part of the computer again to discharge the built up static electricity.

Unplug your computer and peripheral items

Step 2 – Remove side covers

Remove at least one of the side covers, usually the right side as you face the front of the computer. You might find it easier to access all the parts if you remove both side covers; there are sometimes thumb screws on the covers to make access easier.

Remove side covers

Step 3 – Disconnect connectors

Disconnect all the connectors, then remove any card readers and internal DVD players. These are usually screwed into place.

Step 4 – Remove standalone fans

Remove any standalone fans. This is a good time to remove any dust, lint, and pet hair from the fans if you’re planning on reusing them.

Remove fans

Step 5 – Remove the storage drive

Disconnect the cables and remove the storage drive. Generally, storage drives are held in place by multiple screws. If you have a hard drive, be gentle when moving the drive as hard bumps can damage the internal parts.   

Remove storage drive

Step 6 – Remove memory (RAM) modules

Remove the memory (RAM) modules by pushing the clips on both ends of the module down. This will cause the module to pop up for easy removal. Do not touch the gold connectors on the chips if you’re reusing the modules. If you're not reusing the RAM, find out how it can be used in other applications.

Remove memory modules

Step 7 – Remove power supply unit

Remove the power supply unit by unplugging the remaining connectors, then unscrewing the unit from the frame.

Step 8 – Remove motherboard adapter or expansion cards

Remove any adapter or expansion cards from the motherboard. Although these cards usually slide into preconfigured slots, there can be screws. Do not touch the gold connectors on the cards if you’re reinstalling the cards.

Step 9 – Remove the motherboard

Disconnect all the cables from the motherboard, then unscrew it from the frame by loosening each screw a little bit before going around again to loosen each screw properly. This prevents any potential warping of the motherboard by gradually releasing the tension on it.

All the components should now be out of the computer case. If you’re reusing the case, this is a good time to get rid of all the dust and lint that might have collected.

Computer reassembly

If you are rebuilding the computer, insert the components in the opposite order you removed them, starting with the motherboard. Plug in all the cables as you insert the component; most items will plug into the motherboard and the power supply unit.

Congratulations, you’ve disassembled, and possibly reassembled your computer!

Le persone hanno anche visto

Quantità:

Purtroppo non disponiamo di scorte sufficienti per questo ordine in magazzino